

INFO
MOQ
Minimum Order Qnty
Colours
15
Maximum Colours
Days
7
Turn-Around-Time
Ideal
500
+ Units
MOQ
Minimum Order Qnty
South Africa Headwear Screen Printing
High-Quality Printed Caps, Beanies & Hats for Businesses, Teams & Events
Welcome to the South Africa Headwear Screen Printing service information page. Part of our Headwear Services range from Caps South Africa. Looking for custom headwear screen printing in South Africa? Whether you need branded caps, beanies, or bucket hats. We specialize in high-quality screen printing for headwear that lasts. From corporate branding to sports teams and promotional events. South Africa Headwear Screen Printing help businesses and organizations. Create headwear that makes an impact.
Stand Out with Premium Custom Printed Headwear

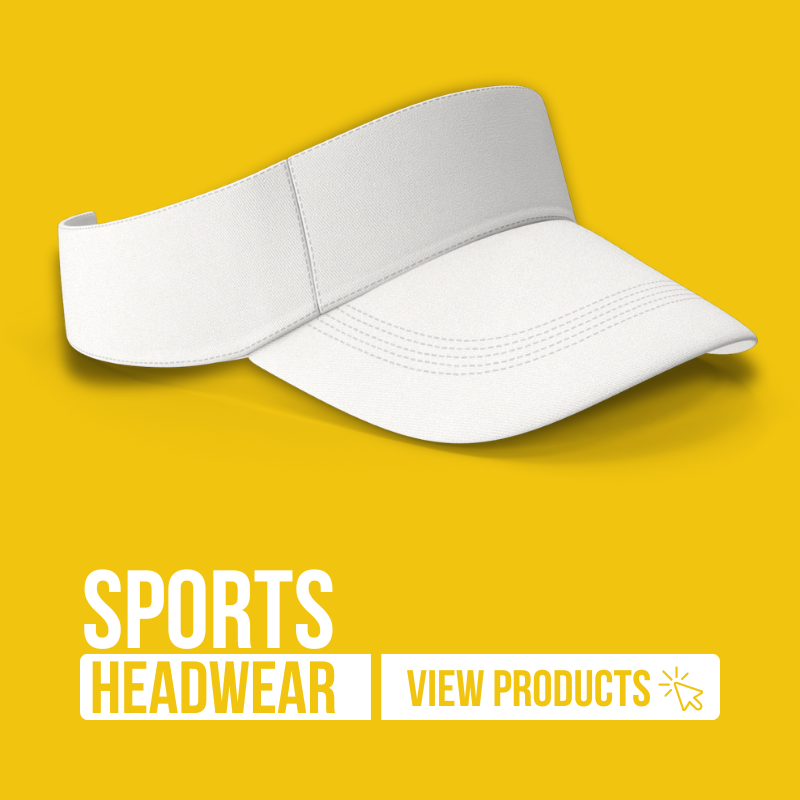
Sports Headwear
We provide Sports Headwear Screen Printing in South Africa on products such as X Flex Golf Cap. Magnetic Birdie Deluxe Golf Cap. Pro Golf Snap Back Flex Cap. Cricket Hat. Pro Side Mesh Sports Cap. Pro Sun Visor. Pro Full Mesh Cap and Pro Soft Touch Side Mesh Sports Cap.
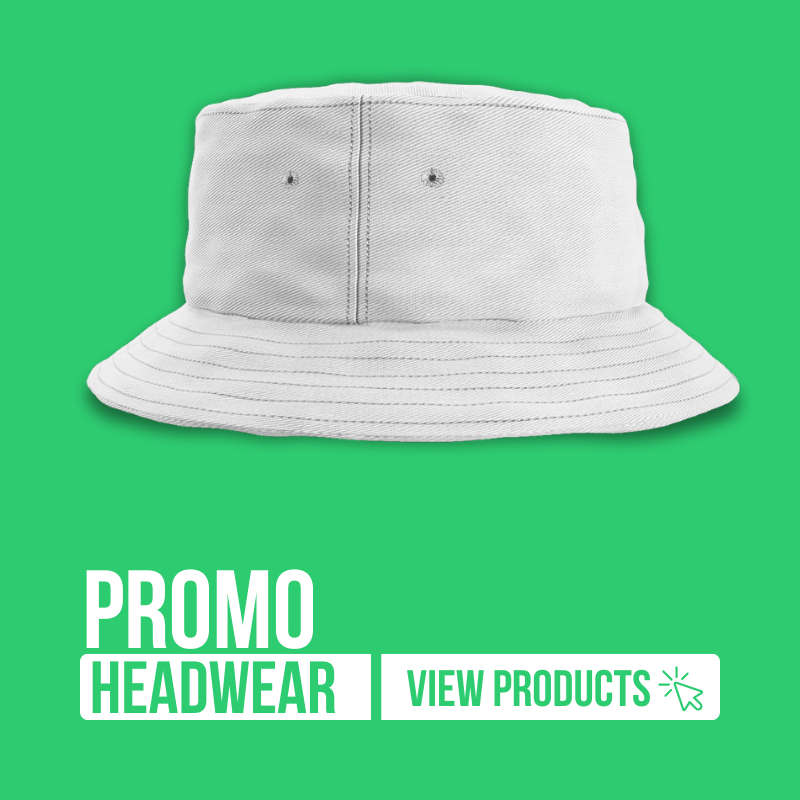
Promo Headwear
We provide Promo Headwear Screen Printing in South Africa on products such as Promo 6 Panel Caps. Promo Bucket Hats. Promo Beanies. Promo Sun Visors. Promo Trucker Hats and Promo Cricket Hats.

Casual Headwear
Finally, we cure the printed cap using controlled heat to ensure the ink adheres permanently. We then inspect for any imperfections, touch up if necessary, and allow complete drying. This final step ensures a, professionally finished and great looking cap.
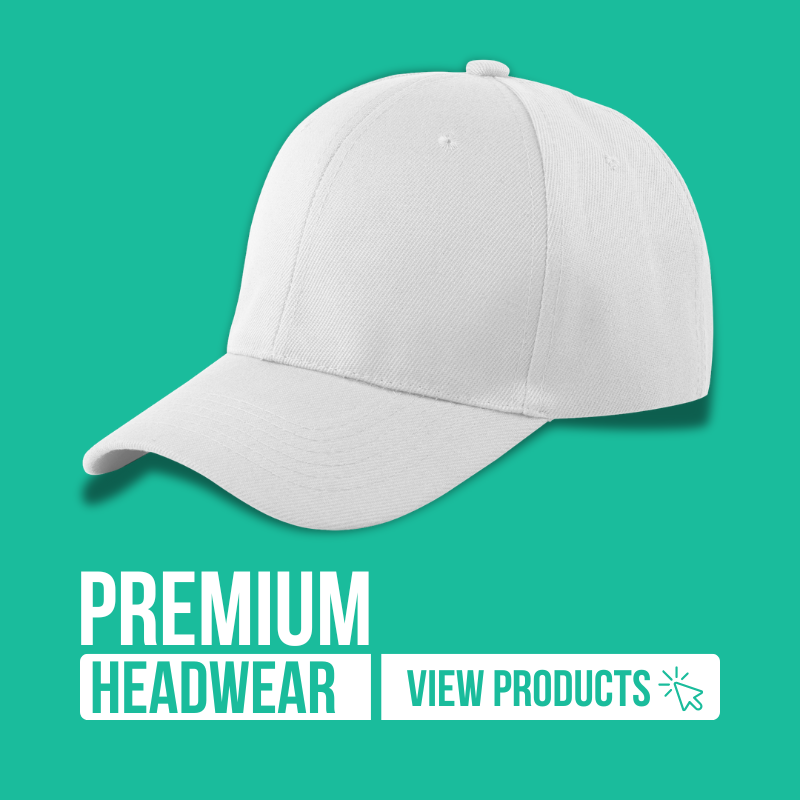
Premium Headwear
Finally, we cure the printed cap using controlled heat to ensure the ink adheres permanently. We then inspect for any imperfections, touch up if necessary, and allow complete drying. This final step ensures a, professionally finished and great looking cap.


Step 1: Artwork Setup
Begin by conceptualizing a captivating design tailored for your cap. Develop a high-resolution artwork, carefully selecting vibrant colors and bold elements. Ensure the design suits the cap’s curves, contours, and style for flawless screen printing reproduction.

Step 2: Screen Setup
Next, we prepare your screen by meticulously coating it with a light-sensitive emulsion. Secure the design film onto the screen, then expose and wash out unneeded emulsion. This process creates a sharp stencil that perfectly mirrors your design.

Step 3: Preperation
We prepare your cap by cleaning and lightly steaming it to relax the fabric. Then position the cap securely on a specialized printing jig. We make sure of accurate alignment to ensure the design transfers flawlessly onto every curve and seam precisely.

Step 4: Apply Ink
Using high-quality, durable inks, we flood the screen evenly over the cap’s surface with a squeegee. Apply firm, consistent pressure to force ink through the stencil. The result is a vibrant, precise imprint that enhances the cap’s unique style and character.

Step 5: Curing
Finally, we cure the printed cap using controlled heat to ensure the ink adheres permanently. We then inspect for any imperfections, touch up if necessary, and allow complete drying. This final step ensures a, professionally finished and great looking cap.


Screen Printing Artwork Guidlines
Welcome to the Screen Printing Artwork Guidelines section. A comprehensive roadmap designed to ensure. Your designs translate perfectly to the screen printing process. Whether you’re a seasoned professional. Or just starting out. This guide covers everything from file setup and color management to fine-tuning the details in your artwork. By following these streamlined guidelines, you can avoid common pitfalls. Achieve vibrant colors, and maintain crisp lines throughout the printing process. Let’s dive in and transform your creative vision. Into a print-ready masterpiece. That meets the high standards of quality and precision in screen printing.
Use Vector Files
Save your artwork in vector formats like AI, EPS, or PDF. Vectors keep your lines crisp and scalable.
Resolution for Raster Elements
If you include any raster images, use a minimum of 300 DPI at actual print size.
Artboard Size
Spot Colors & Layers
Pantone or Spot Color Matching
Avoid Unnecessary Gradients
Screen printing handles solid colors best. If you need a gradient effect, consider using halftones.
Line Thickness & Detail
Keep lines thick enough (generally at least 1mm) to hold up on the screen mesh. Fine details may not reproduce well.
Outline Fonts
Registration Mark
Clean Artwork

Print Positions

Cap Front

Cap Side

Cap Back

Bucket Hats
